• Home
  • Blog
  • Ukulele Method Book Reviews
    • Ukulele Method Perspective
  • Tips & Tricks
    • String Comparisons
    • Instrument Recommendations
  • Ensemble Music
    • Strum & Sing Books
  • DeKalb Homeschool Ukulele Orchestra
    • Recommended Instruments
  • IMEC Ukulele Jam Session
UKULELE FOR TEACHERS

Review - Roadie 2 Automatic Standalone Guitar Tuner

1/11/2018

1 Comment

 
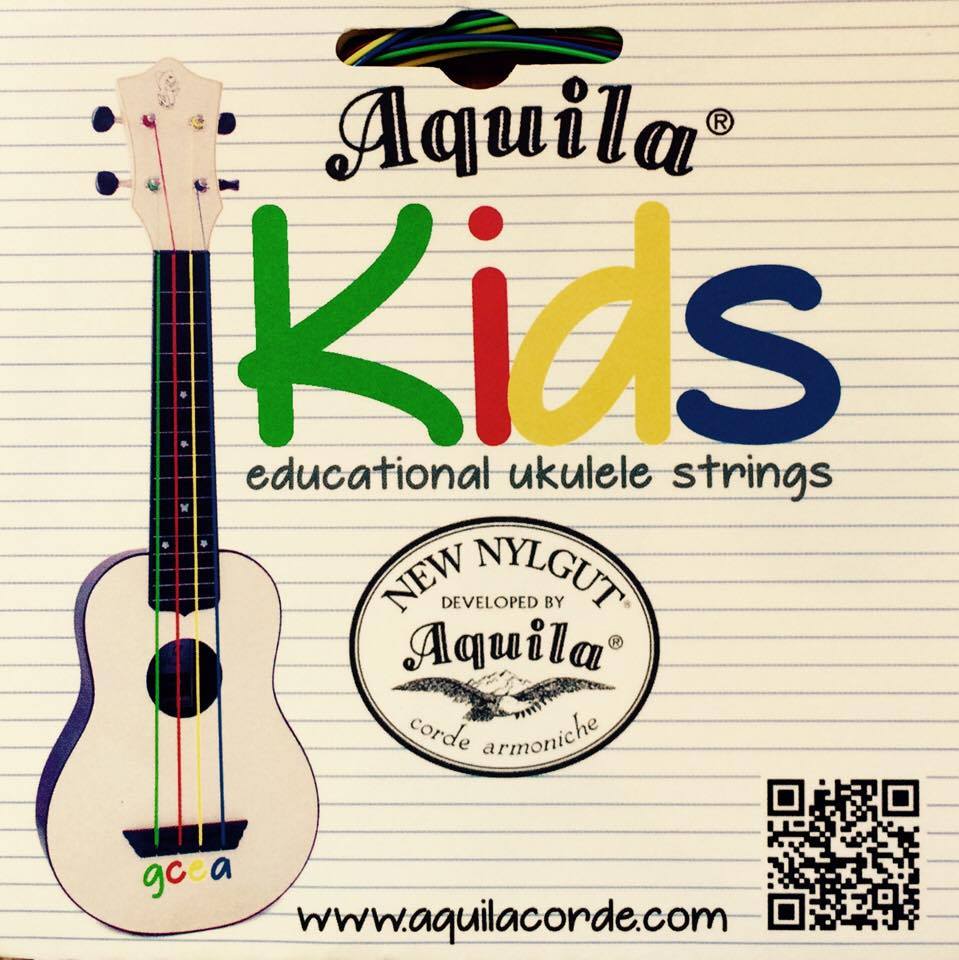
One of the most common questions and complaints I hear from teachers is how to approach tuning a set of classroom ukuleles. The invention of the clip-on tuner was a great step forward for those of us who teach class ukulele and guitar, since it doesn't rely on a microphone to pick up the pitch. I remember buying my first Intellitouch tuner when I was teaching my first guitar class. It cost $70 at the time, and nowhere near as reliable as even the cheapest clip-on tuners today, but it was worth it to me to have the ability to tune during class. I now usually tune one instrument while the kids are practicing a skill, then trade a student for theirs while I tune theirs.

And now, the next step forward: A Roadie 2 Automatic Tuner. This is an AWESOME tool for a classroom ukulele and/or guitar teacher. The previous version of this had caught my eye before, but when I found out that the first version REQUIRED pairing it with a tablet or smartphone, and it used the microphone from the paired device, I decided that it was cool, but useless to me.

Now that's all changed with the Roadie 2 - now it works like the clip-on tuners, and does not rely on a microphone.  Check it out in action below!
UPDATE: 
Found a new great use for this gadget: allowing students to tune instruments who don't necessarily know how!  The other day, I had a student in my general music "Music Tech" class finish his project early. I had showed them my new "toy" the previous day, and he asked if he could tune all the ukuleles while he was waiting for the other students to finish.

Gee...SURE!  Since then, a number of students have asked to do the same.  I see a work reward in the making...one that rewards me as much as the students! 

1 Comment

Aquila Kids Colored Strings - Free Arrangement and Chord Chart!

11/3/2017

7 Comments

 
A post on Facebook made me realize that I hadn't gotten around yet to reviewing and showing some fun things you can do with these new Aquila Kids Strings!

If you've read my "Tips and Tricks" portion of the website, you know that I have been a proponent of using fishing line for strings in the event that you are on a limited budget. Presuming you can't find local fishermen who are willing to give you some extra fishing line (of which they probably have tons), you can string your ukes for somewhere in the realm of $1.50-2.00 per instrument, and I personally prefer the sound of them to a lot of strings.
Picture
And then came the Aquila Kids Strings, which honestly seemed like a gimmick to me at first. In fact, I have a visceral reaction to anything that makes the ukulele seem more "toy" than a legitimate instrument, so I ignored them at first. And then I got my ukulele snobbery under control (yes, it exists, and I may just have to battle it in myself from time to time...) and thought about the possibilities.

How many of us teaching ukulele and/or guitar have had to continually do the "First String...No...that's the fourth string..." thing in class? This certainly makes it easier...especially when incorporating left-handed ukuleles into your curriculum. When I realized that you could color notes in Sibelius, I was sold, and contacted Aquila to order a set.

I was completely floored when I realized that the cost of them (when sold directly to schools) came out to be around $2.50 a set...barely more than using fishing line, and a LOT more useful! I re-strung all of my ukuleles at the end of last year, and immediately started seeing a difference in the students' learning.  When I purchased 30 new ukuleles over the summer, I re-strung them as soon as they arrived.

I've especially found them useful with my more advanced students that have moved out of first position.  The pitch C5 (C above middle C) can be played in 4 different places on the ukulele. When I'm writing out the sheet music for students in fifth position, etc, I indicate the position in the traditional way, but I also color the note for the string it's on...sure helps them find it quicker when reading! See the arrangement of "Infant Holy, Infant Lowly" below as an example, and feel free to use it! The second page takes advantage of re-entrant tuning in a style called campanella. I've included tablature on that line to illustrate how the string colors are showing the location of each note.

​Likewise, I've re-done my chord posters in my room to reflect the string colors. Again, this makes it so I don't have to have separate chord diagrams for lefties...very handy!

Can you do this simply by putting beads or stickers to indicate which string is which?  Sure...absolutely.  But when the cost of the strings is so low, and the benefits are high, I see no reason not to go with them! 

Infant Holy, Infant Lowly Arrangement (FREE)
Free Chord Chart
7 Comments

Playing Posture...it affects everything!

10/27/2017

1 Comment

 
As I'm finishing my first quarter this year, and prepping my materials for my students in the upcoming quarter, I'm reminded how important playing position is in giving students the best possible chance of creating a successful sound.

The first challenge is always the ukulele position itself. I personally steal...ahem...borrow classical guitar technique for holding the ukulele. We don't stand and play in my classes (a topic for another time), so we spend a good amount of time just getting the position and balance of the instrument right before really trying to get a sound out of it. 
Check out the (hopefully) infamous video of Jake Shimabukuro playing "While My Guitar Gently Weeps" for a great example of seated ukulele position. 

In my mind, the goal of the instrument posture is so that the player does not have to support the neck while they play. This frees the fretting hand to move as needed.

Picture

Non-Slip Pad to facilitate instrument angle

This is what I teach my students for instrument posture:
  • Lower bout of the ukulele on the strumming/picking side leg, raised a bit if possible
  • Picking/Strumming hand rests on the "hip" of the ukulele to balance it between your forearm and the thigh (if you get the angle right, they will be able to take both hands - not forearm - off the instrument, and it will remain in position)
  • The instrument angle should be at the "ten o-clock" position for righties, and the "two o-clock" position for lefties
    • This can be even easier in classrooms where students sit on the floor, "criss-cross" style. The instrument can be balanced in the lap this way!
For the fretting hand, my goal is to keep the fretting wrist straight to increase finger grip strength and freedom. My rules for the students:
  • Thumb stays on back of the neck, somewhere behind the third fret (I use "fuzzy velcro dots" on the back of the neck to indicate where to place the thumb
  • Fingers remain curved in the "claw," "rainbow" or "lego hand position" so that the tip of the finger is in contact with the strings.
Picture

Velcro dot for thumb placement

One of the things that we miss most often, though, when trying to get a clear sound on the instrument, though, is the exact placement of the finger in the fret space. A lot of the time, students naturally place their fingers in the center of the fret space, which requires more force on the fingertip to get a clear sound.

Try this yourself (and I always demonstrate the same thing): choose any string, any fret, and lightly fret it directly behind the fretwire, just where you can feel the string start to "incline" toward the fret. Find just the right amount of force to get a clear sound, to the point where any lighter would mute the string.  

Once you find that, slide your finger back with the exact amount of pinch strength.  You'll notice that the tone will quickly get "stuffy" or even muted.  The goal, of course, is to get the maximum return for the least amount of work. In other words, "smart laziness." THAT the students get!

Students will argue that they see great players with thumbs up, etc. all the time, and yes, we do.  I teach them that this is the "default" position that you can deviate from when needed, and they quickly see that they can be much more successful in getting a clear tone with decent instrument positioning.  If it ultimately doesn't "stick," then they have developed the ability to play in multiple ways!
Sungha Jung is another one to watch for playing posture and beautiful fretting hand position.

Plus he's playing a harp ukulele.

Which I covet.

Highly.

​Watch this.
1 Comment
    Picture

    Author

    Paul Marchese is a middle-school vocal & general music teacher at Hadley Jr. High in Glen Ellyn, IL.  He became a ukulele enthusiast several years back, and has  been working to help other music teachers find the best way to utilize this instrument in their own classrooms.

    Picture

    Archives

    October 2020
    February 2018
    January 2018
    November 2017
    October 2017
    August 2017
    May 2017
    December 2015

    Categories

    All
    Education
    Free Stuff!
    Rants
    Retrospective
    Reviews
    Silliness
    Teaching
    Teaching Strategies
    Tuners

    RSS Feed

    Great "Ukelinks"

    Got A Ukulele?
    • ​Instrument reviews, rants
    UkeStuff 
    • Ukes from music ed perspective, reviews, song playalongs, etc.
    TheUkuleleWay
    • James Hill's video education series
    ​UkuleleUnderground​
    • Video instruction, forum, the works!
Powered by Create your own unique website with customizable templates.